Always Here for Advice
How to Use a Pottery Wheel for the First Time: Beginner’s Guide
Ever dreamt of spinning clay like a pro, only to end up with a lopsided mess? Don’t worry—that’s part of the fun! Short answer: Start slow, centre the clay, keep your hands steady, and embrace the wobble. Beginner pottery wheels are perfect for easing into the craft. Keep reading for beginner-friendly tips, must-know techniques, and a splash of learning magic!
How to Use a Pottery Wheel for the First Time: A Beginner's Guide
Ever dreamt of spinning clay like a pro, only to end up with a wobbly, lopsided mess? Don’t worry—that’s part of the fun! Short answer: Start slow, centre the clay, keep your hands steady, and embrace the wobble. Keep reading for beginner-friendly tips, must-know techniques, and a splash of learning magic!
Understanding the Pottery Wheel
Before you dive in, let’s get to know your pottery wheel. Think of it as your dance partner—it moves, you guide. Understanding how it works will save you frustration (and a lot of flying clay).

Types of Pottery Wheels (Electric vs. Kick Wheels)
-
Electric Wheels – Ideal for beginners, these run on a motor and allow for precise speed control.
-
Kick Wheels – Operated by foot power, they offer a traditional approach but require more effort.
For your first experience, an electric wheel is your best bet—less leg work, more clay fun!
Key Components of a Pottery Wheel (Wheel Head, Splash Pan, Motor/Flywheel)
-
Wheel Head – The spinning platform where you shape your masterpiece.
-
Splash Pan – A lifesaver that catches excess water and clay (because things will get messy!).
-
Motor/Flywheel – Powers the wheel; electric ones use motors, kick wheels rely on leg force.
Setting Up Your Workspace (Comfort, Accessibility, Cleanliness)
-
Position your wheel near a water source for easy cleanup.
-
Sit at a comfortable height—your elbows should rest just above the wheel head.
-
Use non-slip mats to stabilise the area and wear an apron (trust me, you’ll need it).
Preparing Your Clay
Great pottery starts before the wheel even spins. Proper clay prep ensures your piece doesn’t crack, collapse, or refuse to take shape.
Choosing the Right Clay for Beginners (Earthenware, Stoneware)
-
Earthenware – Softer and easier to shape, perfect for first-timers.
-
Stoneware – A bit firmer but more durable once fired.
Avoid porcelain—it’s not beginner-friendly (unless you enjoy frustration).
 Wedging Clay: Removing Air Bubbles and Achieving Consistency
Wedging is like kneading dough but with a mission: to remove air pockets and align clay particles.
Ram’s Head Wedging Technique
Press and fold the clay repeatedly in a rocking motion, shaping it like a ram’s head.
Spiral Wedging Technique
Twist and press the clay into a spiralling cone—ideal for refining consistency.
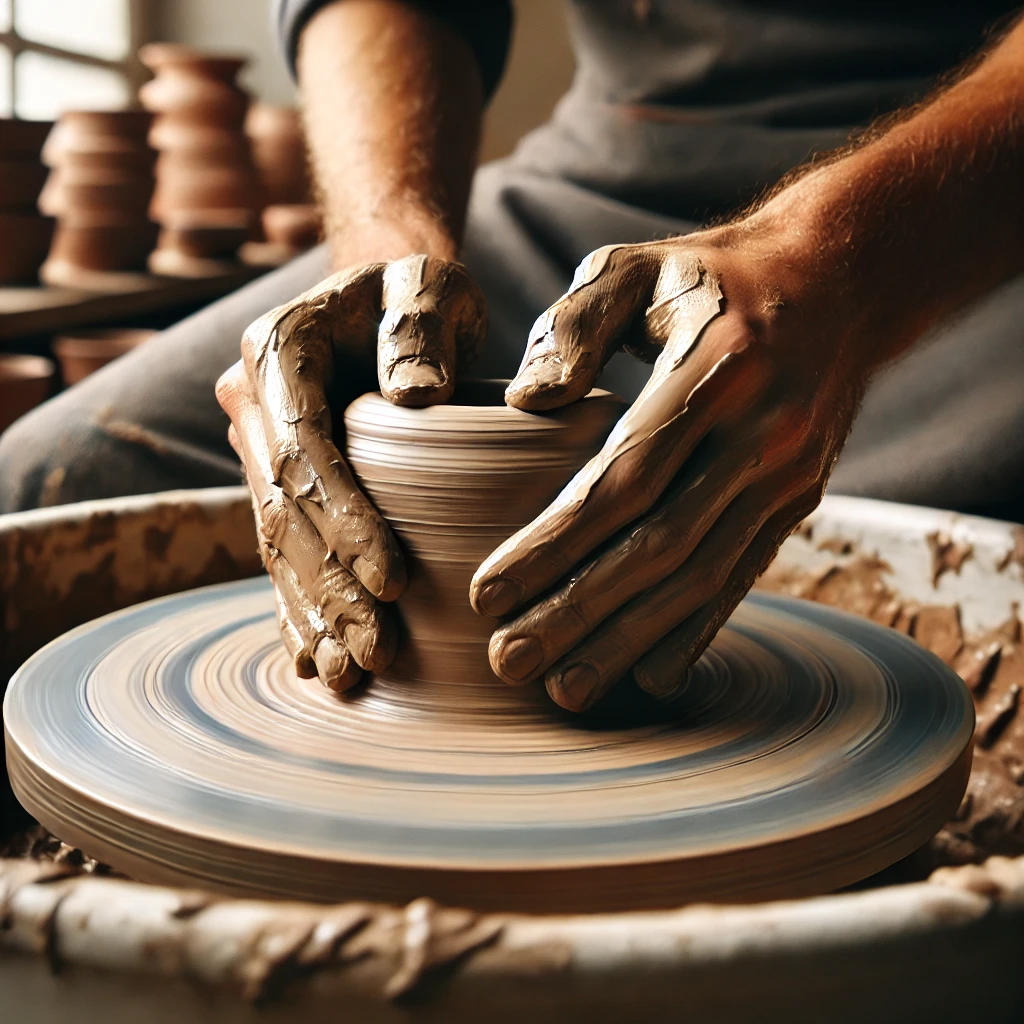
Centering the Clay on the Wheel
Start with a firm slap—yes, literally. Smack your clay onto the wheel head so it sticks securely before spinning.
Centering the Clay: The Foundation of Wheel Throwing
Master this step, and you’re halfway to success. Poor centring leads to wobbly, uncontrollable pots!
Positioning Your Body and Hands
-
Sit close, feet flat, elbows anchored to your thighs for stability.
-
Keep your hands wet—dry hands create friction, and friction = disaster.
Applying Pressure to Center the Clay
-
Start the wheel slowly (about 50-60 rpm).
-
Press both hands firmly around the clay, pushing it into a symmetrical mound.
Common Centering Mistakes and How to Correct Them
|
Issue |
Solution |
|
Clay wobbles |
Apply even pressure, don’t fight the spin |
|
Hands slip |
Keep them wet but not dripping |
|
Clay flattens |
Use less downward force, focus on centring first |

Opening the Clay and Forming the Cylinder
Once centred, it’s time to open the clay and start forming the shape.
Making the Initial Opening
-
Use your thumbs or index fingers to press into the centre.
-
Avoid punching through—leave at least 1cm of clay at the base.
Creating the Cylinder Walls
-
Gradually pull the walls upward, keeping steady, even pressure.
-
Use both hands—one inside, one outside—to guide the shape.
Compressing the Rim
-
Smooth out the top with your fingers or a rib tool.
-
Prevent cracking by gently pressing inward after each pull.
Maintaining Consistent Wall Thickness
Avoid overworking the clay—uneven pressure = lopsided results.
Shaping Your First Pottery Piece
Now for the fun part—giving your clay some character!
Making a Simple Cylinder or Bowl
-
Cylinders are great for practice (they form the base of mugs and vases).
-
Bowls require outward shaping—use a sponge to smooth curves.
Techniques for Shaping and Contouring
-
Use gentle outward pressure for rounded shapes.
-
Slow the wheel speed for precise shaping.
Using Ribs and Tools for Refinement
-
Wooden or metal ribs help smooth and define your piece.
-
Sponges keep moisture levels balanced for easier control.
Troubleshooting Common Shaping Issues
-
Walls collapse? Use less water and apply lighter pressure.
-
Clay too thin? Compress the walls and start over if needed.
Finishing and Removing Your Piece
The final steps are just as important as shaping.
Cleaning Up the Wheel and Your Hands
A clean workspace keeps your clay in top condition for the next round.
Cutting the Piece Off the Wheel
-
Use a wire cutter to slide beneath your piece carefully.
-
Lift gently—avoid touching the sides to prevent warping.
Preparing the Piece for Drying
Allowing for Even Drying
-
Place your piece on a wooden board or drywall (absorbs excess moisture).
-
Cover loosely with plastic to prevent cracking.
Cleaning and Maintaining Your Pottery Wheel
-
Wipe down surfaces to prevent clay buildup.
-
Empty the splash pan to keep the motor running smoothly.
Tips for Beginners
Practice Regularly
Muscle memory makes all the difference—try weekly sessions for steady progress.
Watch Tutorials and Learn from Experienced Potters
YouTube, online courses, and pottery classes speed up learning (and prevent avoidable mistakes!).
Don't Be Afraid to Experiment
Not every piece needs to be perfect—creativity comes from trying new things!
Embrace the Learning Process
Frustration is normal. Every skilled potter started with wobbly pots.
Safety Precautions
-
Keep long hair tied back.
-
Don’t overload the wheel with clay—it strains the motor.
-
Avoid over-wetting—too much water weakens clay structure.
Next Steps: Beyond the Basics
Exploring Different Clay Types and Glazes
-
Try porcelain for delicate pieces (once you're more confident!).
-
Experiment with glazes for colour and texture.
Learning More Advanced Throwing Techniques
-
Handles, spouts, and lids—next-level skills for ambitious potters.
Joining a Pottery Class or Community
Pottery is more fun with others—join local studios or online forums for inspiration.
Final Thoughts
Starting with a pottery wheel is a journey—one filled with clay-covered hands, wobbly first attempts, and unexpected masterpieces. The more you embrace the process, the better you'll get. So, roll up your sleeves, centre that clay, and let your creativity spin! 🎨✨