Always Here for Advice
Mastering Pottery Trimming: A Step-by-Step Guide for Beginners
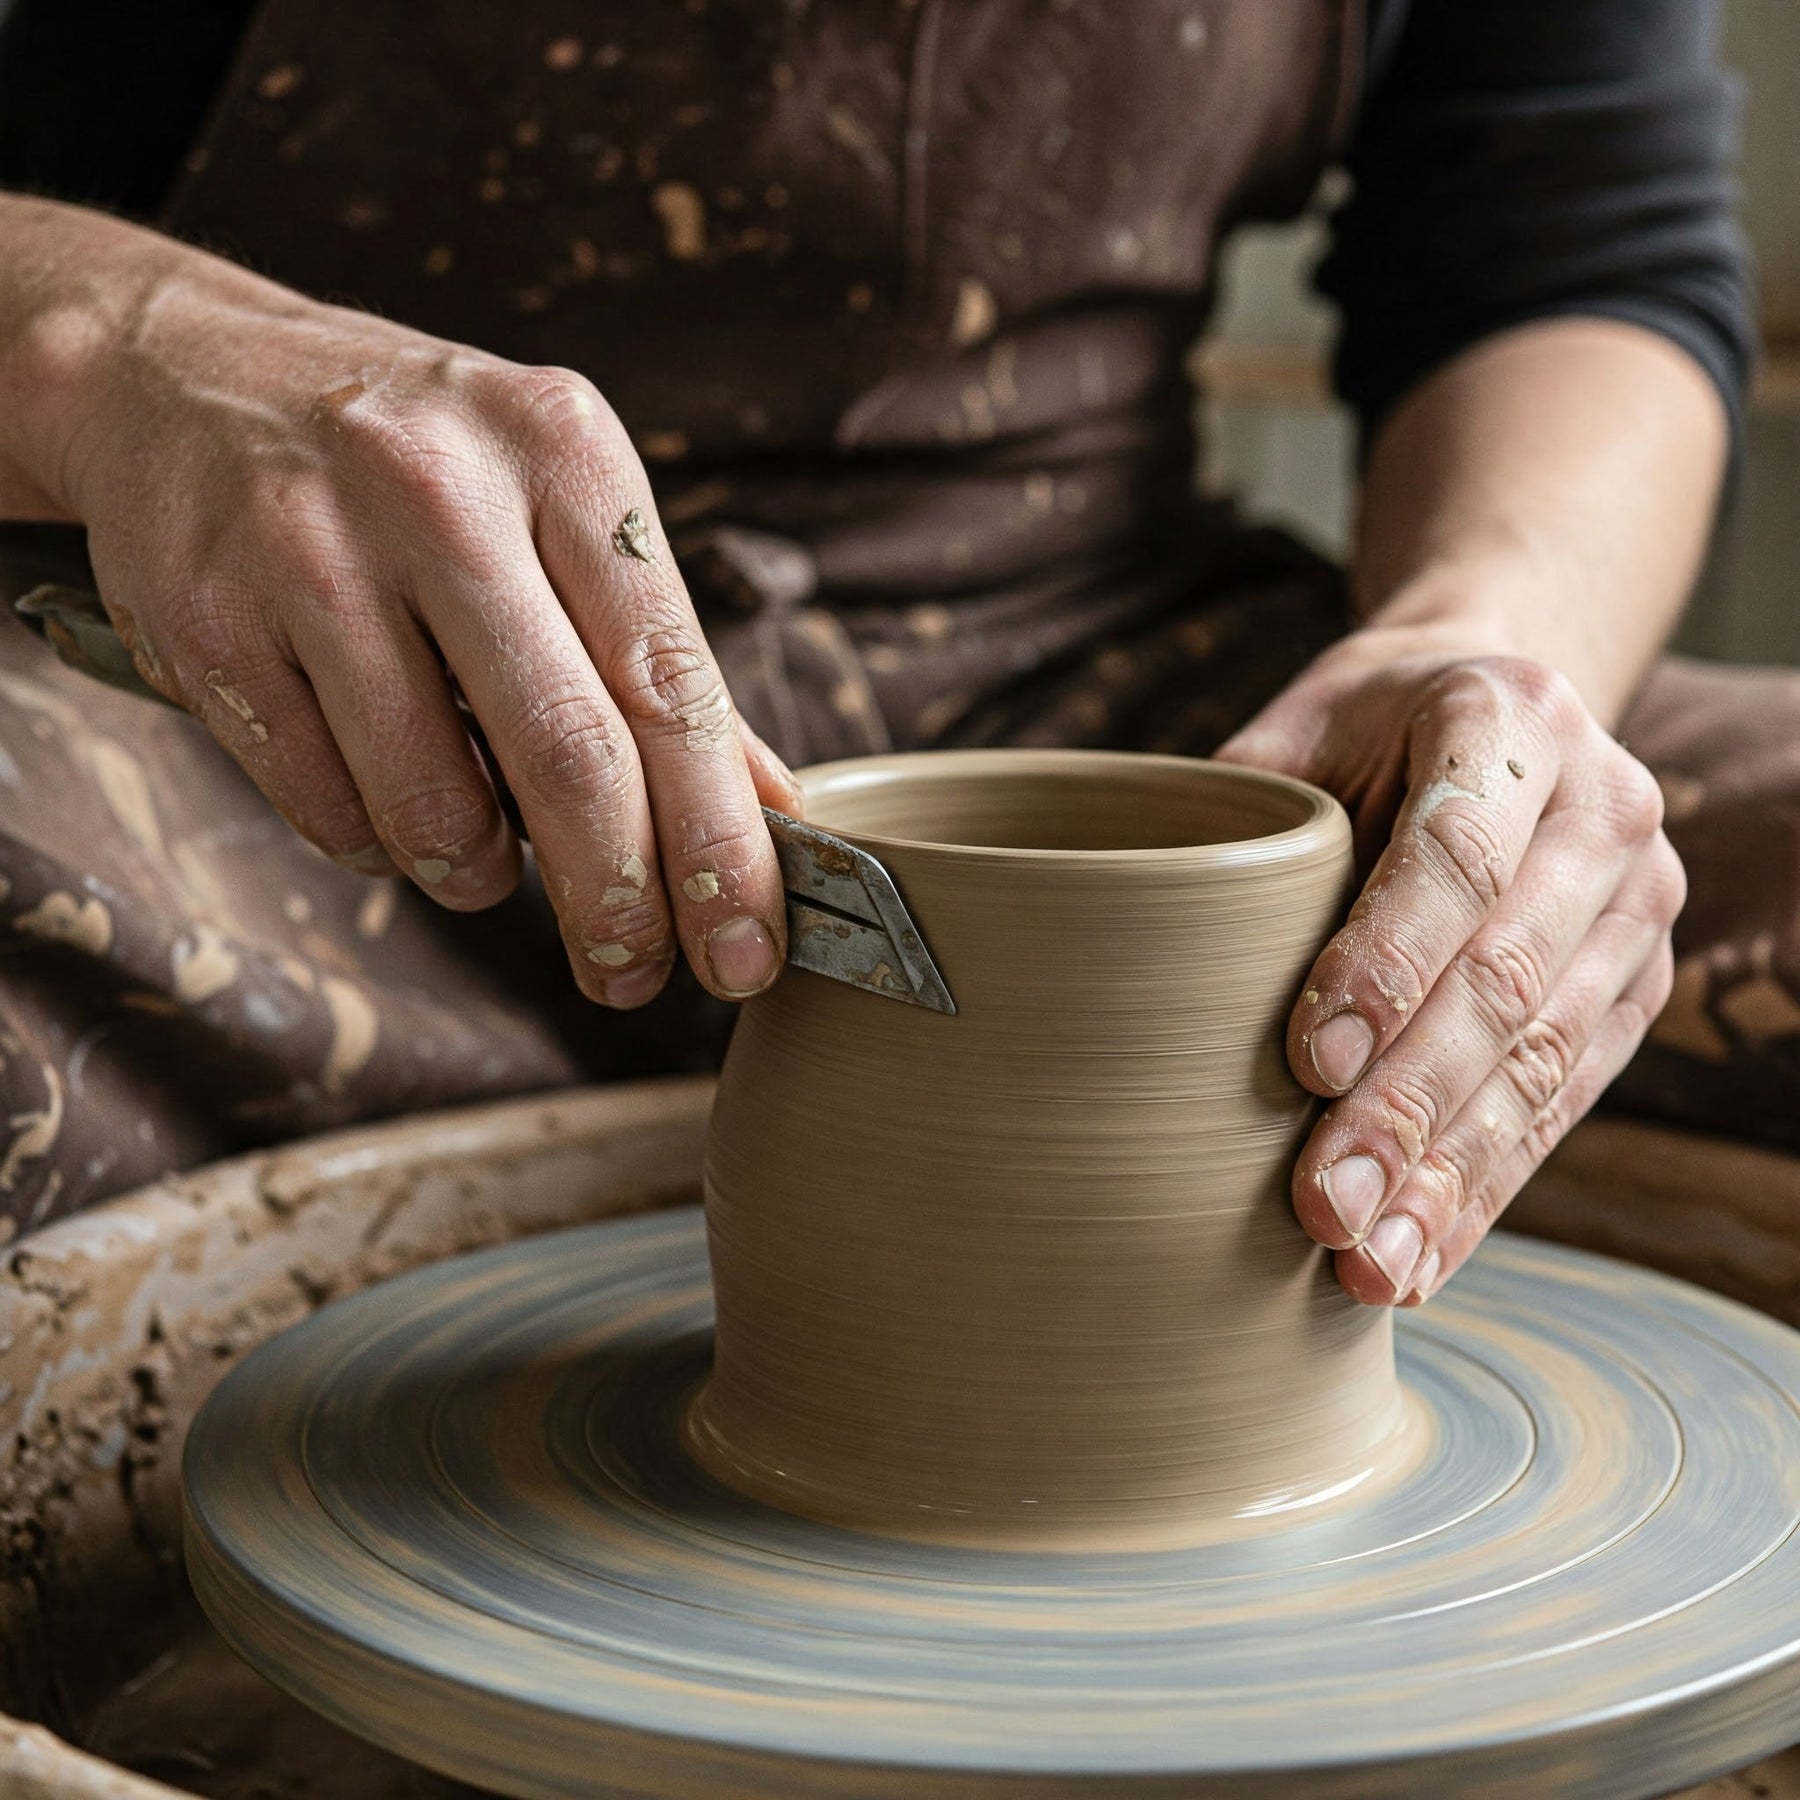
Ever turned a wonky pot into a masterpiece? Trimming is the secret! Secure your leather-hard piece on a Beginner Pottery Wheel, centre it, and carve away excess clay for balance and elegance. With the right tools and technique, you’ll refine both form and function. Keep reading for expert tips, usage & maintenance tricks, and creative finishing touches!

Mastering the Art of Trimming: A Step-by-Step Guide to Trimming Pottery on the Wheel
Trimming is where the magic happens—turning a rough, heavy pot into a refined, well-balanced piece. It’s the difference between a professional-looking creation and something that feels a little, well... clunky.
If you’ve ever struggled with trimming—wobbly pots, uneven foot rings, or the dreaded chatter marks—don’t worry. This guide breaks it all down, from tool selection to troubleshooting, so you can achieve clean, precise results every time.
Understanding Trimming: The Essentials
What is Trimming in Pottery?
Trimming is the process of refining a leather-hard clay piece by shaving away excess material. Using loop tools, ribs, and a steady hand, potters shape the foot, adjust thickness, and create a balanced form.
Think of it as sculpting the final details—like giving your pot a well-deserved haircut!
Purpose of Trimming
-
Lightens the piece – Removes unnecessary bulk.
-
Improves aesthetics – Creates a smooth, intentional design.
-
Ensures stability – A well-trimmed base prevents wobbling.
-
Refines thickness – Avoids heavy bottoms and uneven walls.
When to Trim
Timing is everything! Trim when the clay is leather-hard—firm enough to hold its shape but still workable.
-
Too soft? It’ll warp under pressure.
-
Too dry? It’ll crack or resist trimming.
A good test? Press a finger lightly against the clay. If it leaves an impression without sticking, it's ready.
Tools and Materials Needed
Trimming Tools
-
Loop tools – For carving away excess clay.
-
Ribs – Smooth and refine edges.
-
Sponges – Control moisture levels.
The Pottery Wheel
A smooth, adjustable-speed wheel is essential for controlled trimming.
Bat or Wheel Head
A bat (plastic, wood, or plaster) is useful for securing pieces, especially plates or large forms.
Water and Sponge
A damp sponge helps prevent the clay from drying too quickly while trimming.
Clay Readiness: The Leather-Hard Stage
Identifying the Ideal Consistency
Leather-hard clay should feel firm but slightly flexible, allowing for clean carving without resistance.
Why Leather-Hard is Crucial
-
Too soft = Warping and distortion.
-
Too dry = Brittle clay and cracks.
Mastering this stage makes trimming far easier!
Setting Up for Success: Preparing Your Wheel and Piece
Securing Your Piece to the Wheel
Using Clay Lugs
Press small lumps of clay around the base to keep the piece stable.
Using a Giffin Grip (if applicable)
This handy tool secures your piece automatically, making trimming much quicker.
Centering the Piece
Spin the wheel slowly and adjust the pot until it rotates smoothly without wobbling.
Adjusting Your Posture and Wheel Speed
Ergonomic Positioning
Sit with a straight back, elbows resting on your knees for stability.
Optimal Wheel RPM
Use a slow-to-medium speed for better control—too fast and you’ll struggle with precision.
The Trimming Process: Step-by-Step
Trimming the Foot Ring
Creating a Consistent Foot Ring
Use a loop tool to carve a neat, symmetrical base.
Defining the Foot Ring Shape
Experiment with different styles—rounded, squared, or slightly recessed.
Trimming the Walls
Achieving Uniform Wall Thickness
Gently remove excess clay in layers rather than taking off too much at once.
Refining the Form
Use a rib tool to smooth out inconsistencies.
Trimming the Outside Curve
Smoothing and Shaping
Slow, even strokes with a sharp tool will create a professional finish.
Finishing Touches
Beveling the Edges
Softening sharp edges enhances both comfort and aesthetics.
Cleaning and Smoothing
A damp sponge or rib tool works wonders for a polished look.
Adding Decorative Lines or Details
Fine grooves or patterns can add personality and texture.
Troubleshooting Common Trimming Issues
Even experienced potters run into trimming problems. Here’s how to fix them:
|
Problem |
Cause |
Solution |
|
Clay sticking to tools |
Too wet or soft clay |
Wait longer or dust with cornstarch |
|
Uneven wall thickness |
Trimming too aggressively in one area |
Trim gradually, checking frequently |
|
Cracking or breaking |
Clay is too dry |
Rehydrate slightly before trimming |
|
Chatter marks |
Wheel too fast or dull tool |
Slow the wheel, sharpen your tools |
|
Off-centre trimming |
Piece not properly secured |
Re-centre before trimming |
Trimming Different Pottery Forms
Trimming Cylinders
Keep walls straight, ensuring a recessed foot for stability.
Trimming Bowls
Follow the natural curve to maintain balance.
Trimming Plates
Trim a shallow foot to prevent warping during drying.
Trimming Mugs
Maintain a comfortable weight for easy handling.
Advanced Trimming Techniques
Creating Specific Foot Ring Designs
Fluted, beveled, or recessed feet add a unique touch.
Using Specialized Trimming Tools
Chattering tools create decorative textures with minimal effort.
Trimming Large or Complex Forms
Work gradually, removing clay in thin layers to maintain control.
Tips for Efficient and Effective Trimming
Maintaining Tool Sharpness
Dull tools create friction—keep them sharp for clean cuts.
Practicing Regularly
The more you trim, the better you’ll get!
Learning from Experienced Potters
Watch demonstrations, take classes, and experiment with different techniques.
Cleaning Up After Trimming
Removing Clay Scraps
Collect trimmings for reclaiming or recycling into slip.
Cleaning Tools and Wheel
Wipe down surfaces and keep tools free from dried clay.
Conclusion: Elevating Your Pottery with Precise Trimming
Trimming isn’t just about removing clay—it’s about refinement, balance, and adding personality to your pottery.
A well-trimmed piece looks intentional, feels professional, and enhances the overall function of your work. So keep practising, experiment with different styles, and soon, trimming will become second nature.
Happy potting! 🎨👩🏭