Always Here for Advice
How to Use a Pottery Wheel for Kids: A Fun & Easy Guide
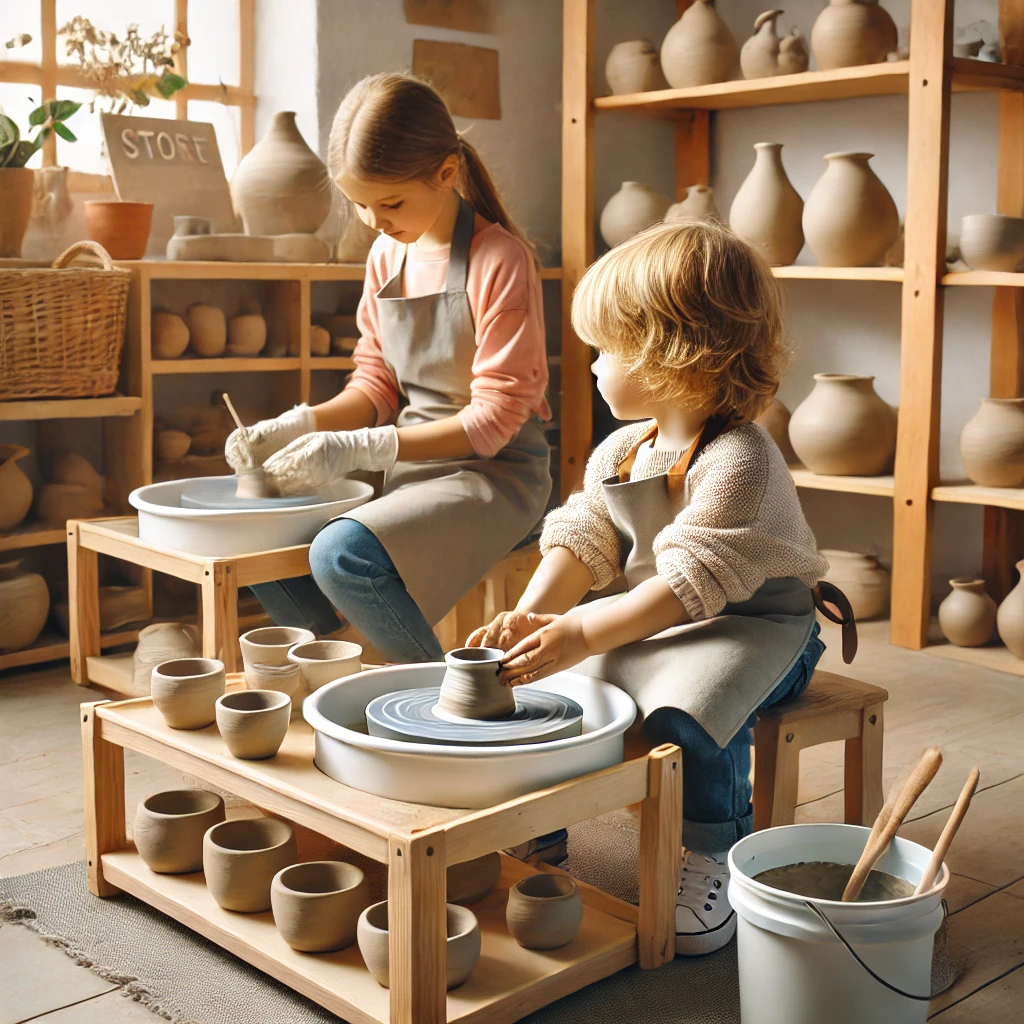
Ever seen a kid turn a lump of clay into a masterpiece—or a wobbly pancake? Beginner Pottery Wheels make it easy and fun for little hands to explore! Using a pottery wheel for kids is all about fun, learning, and messy creativity! Beginners start by centring clay, shaping walls, and adding designs. Stick around for easy steps, pro tips, and giggle-worthy clay mishaps!
How to Use a Pottery Wheel for Kids: A Beginner’s Guide
Introduction to Pottery Wheels for Kids

Picture this: your child, hands covered in clay, spinning a lump of earth into their very own masterpiece. Pottery is not just a fun hobby—it builds patience, fine motor skills, and creativity.
But where do you start? How do you introduce your little artist to a pottery wheel without ending up with a clay-covered disaster zone? This guide will walk you through everything from choosing the right wheel to shaping, decorating, and troubleshooting common mishaps. Let’s get those hands muddy!
What is a Pottery Wheel? (Simplified Explanation)
A pottery wheel is a spinning platform where clay is shaped into bowls, mugs, and sculptures using hands and tools. It turns lumps of clay into smooth, symmetrical creations.
For kids, it’s like playing with playdough—but with a bit more skill and patience involved. The wheel spins, they mould, and before you know it, they’ve created something unique!
Benefits of Pottery for Kids
-
Unleashes creativity – No rules, no limits—just endless possibilities.
-
Improves fine motor skills – Strengthens hand muscles and coordination.
-
Teaches patience – Learning to shape clay takes time and practice.
-
Reduces screen time – A hands-on activity that keeps kids engaged.
-
Encourages problem-solving – If a piece wobbles or collapses, they adapt!

Safety First: Setting Up a Safe Workspace
Before you start, make sure your child’s pottery experience is as safe as it is fun.
-
Non-slip mat – Stops the wheel from shifting.
-
Water supply – Keep a small bowl nearby, but avoid spills!
-
Supervision is key – Especially for younger children.
-
Proper seating – Adjust the chair so your child’s arms rest comfortably.
-
Safe storage – Keep sharp tools out of reach when not in use.
Choosing the Right Pottery Wheel
Types of Kids’ Pottery Wheels
|
Type |
Best For |
Pros |
Cons |
|
Manual |
Young beginners |
No electricity needed, easy to control |
Can be tiring to use for long periods |
|
Electric |
Older kids & advanced learners |
Faster, more professional feel |
Requires supervision, more expensive |
|
Tabletop |
Small spaces |
Compact, easy to store |
May be less stable |
|
Floor model |
Dedicated setups |
Sturdier, more professional |
Takes up more space |
Key Features to Look For
-
Adjustable speed – Helps kids learn control.
-
Splash pan – Reduces mess by catching extra clay and water.
-
Sturdy base – Prevents wobbling.
-
Lightweight design – Easy for kids to move and store.
Age-Appropriate Wheels
-
Ages 3-5 – Soft clay, simple hand-moulding.
-
Ages 6-10 – Basic electric or manual wheels.
-
Ages 11+ – More advanced wheels with speed control.
Preparing for the Pottery Session
Gathering Supplies
-
Clay – Air-dry for beginners, or kiln-fired for long-lasting pieces.
-
Water – Essential for shaping and smoothing.
-
Tools – Ribs, sponges, cutting wire, and shaping sticks.
-
Aprons & towels – To keep clothes and hands clean.
Preparing the Clay
-
Wedging – Knead the clay to remove air bubbles.
-
Centering – Press the clay firmly onto the wheel to prevent wobbling.
Protecting Clothes and Workspaces
-
Use aprons to protect clothes.
-
Lay down mats for easier clean-up.
-
Keep a damp cloth nearby for wiping hands.
Step-by-Step Guide: Using the Pottery Wheel
Centering the Clay
Demonstrating the Technique
-
Place the clay right in the middle of the wheel.
-
Apply gentle downward pressure as the wheel spins.
-
Keep hands steady and let the wheel do the work!
Tips for Kids Who Struggle
-
Use smaller amounts of clay.
-
Start at a slower speed.
-
Apply even pressure with both hands.

Creating Basic Shapes
Making a Simple Pot or Bowl
-
Slowly press fingers into the clay’s centre.
-
Pull the sides outward gently.
-
Keep hands wet to prevent sticking.
Exploring Different Shapes
-
Press outwards for wide bowls.
-
Pinch the rim for decorative edges.
Using Pottery Tools
Basic Tools
-
Rib tools – Smooth out rough spots.
-
Sponges – Keep clay moist.
-
Cutting wire – Used to separate finished pieces.
Using Tools Safely
-
Always handle tools with care.
-
Store sharp tools safely when not in use.
Finishing and Decorating the Pottery
Drying the Clay
-
Leave to air dry for 24-48 hours.
-
Place in a well-ventilated area.
Basic Decorating Techniques
-
Painting – Use non-toxic acrylics or watercolours.
-
Carving – Create patterns before the clay hardens.
-
Stamping – Add textures using everyday objects.
Glazing and Firing (With Adult Supervision)
-
Some pottery needs kiln firing to harden.
-
Always handle glazes carefully with adult help.
Safety Tips and Best Practices
Supervision and Guidance
-
Always supervise young children.
-
Ensure the pottery wheel is on a stable surface.
Cleaning Up
-
Wipe surfaces immediately to prevent dried clay buildup.
-
Store tools and leftover clay properly.
Troubleshooting Common Issues
-
Clay sticking? Use a wet sponge to loosen it.
-
Walls collapsing? Slow down and keep hands steady.
-
Uneven shapes? Re-centre the clay before shaping.
Creative Ideas and Projects for Kids
Beginner-Friendly Projects
-
Pinch pots – Great for small hands.
-
Coil pots – Stack rolled clay for a fun shape.
Fun Project Ideas
-
Animal figurines – Sculpt a cat, dog, or dinosaur.
-
Decorative bowls – Stamp in unique textures.
Encouraging Creativity
-
Let kids experiment with different shapes.
-
Mistakes? That’s part of the fun!
Conclusion
Recap of Key Steps
-
Pick the right pottery wheel for your child’s age.
-
Set up a safe, supervised workspace.
-
Start with simple shapes before moving to advanced designs.
Encouraging Further Learning
-
Join a local pottery class.
-
Watch YouTube tutorials for new techniques.
Resources for Kids
-
Books: The Kids’ Pottery Handbook
-
Videos: PotteryCraftsUK on YouTube
-
Workshops: Check local art studios
So, ready to turn that lump of clay into something amazing? Let’s get spinning! 🎨✨