Always Here for Advice
How a Pottery Wheel Works: A Beginner’s Guide to Wheel Throwing
Ever wondered how a lump of clay transforms into a masterpiece? A Beginner Pottery Wheel spins, you shape—magic happens! It works by rotating clay for precise moulding, whether powered by foot, hand, or motor. Master its usage & maintenance, and you’ll craft like a pro—minus the accidental flying clay disasters!

Demystifying the Spin: How a Pottery Wheel Works – A Comprehensive Guide
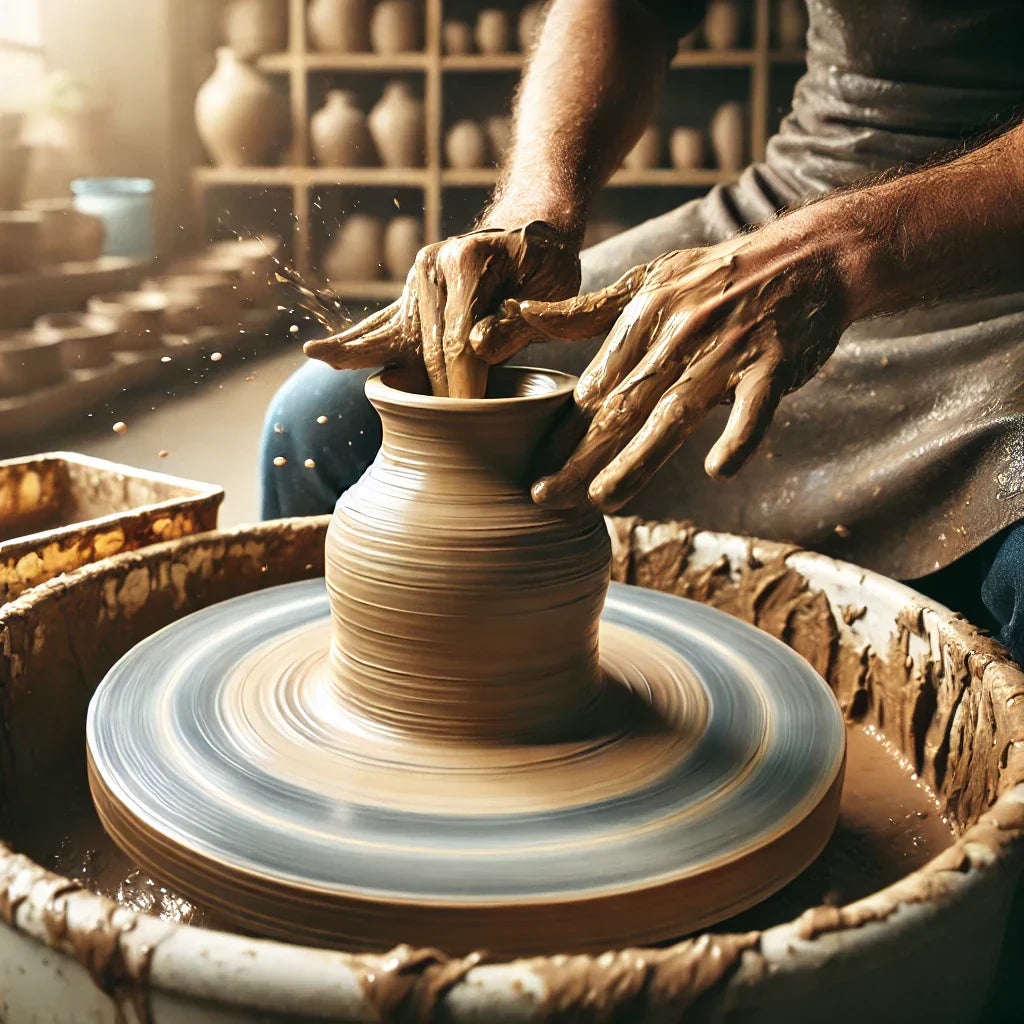
Ever marvelled at how a lump of clay transforms into a stunning vase or bowl? It all starts with a spinning wheel, a bit of skill, and maybe a splash (or two) of water.
Whether you're a beginner or an experienced potter, understanding how a pottery wheel works will help you craft with confidence. Let’s dive into the mechanics, components, and techniques behind this ancient art form.
The Core Components of a Pottery Wheel
Every pottery wheel has a few key parts that work together to create smooth, symmetrical ceramic pieces.
The Wheelhead (or Bat)
Surface and Materials
The wheelhead is the flat, spinning disc where the magic happens. Typically made of aluminium or steel, it provides a strong, smooth surface for shaping clay. Some potters prefer using bats—removable discs made from plastic, wood, or plaster—to make handling finished pieces easier.
Attaching and Detaching
Bats attach to the wheelhead using pin holes or grip systems, allowing potters to lift delicate creations off without distortion. A secure fit is crucial to prevent wobbles, which can ruin a perfectly good pot.
The Motor and Drive System
Electric vs. Kick Wheels
There are two main types of pottery wheels: electric and kick wheels.
-
Electric wheels are powered by motors, offering consistent speed and ease of use—perfect for beginners and professionals.
-
Kick wheels require foot power, giving potters full control over speed while offering a quieter, electricity-free experience.
Speed Control Mechanisms
On electric models, speed is controlled via a foot pedal, much like a car’s accelerator. Kick wheels rely on the potter’s rhythm—pushing the wheel with the foot and maintaining momentum.
The Splash Pan
Purpose and Maintenance
The splash pan catches excess water and clay, keeping your workspace clean. Regularly emptying and cleaning it prevents clay buildup, which can affect the wheel’s balance.
The Table and Frame
Stability and Ergonomics
A sturdy frame keeps the wheel stable, while adjustable tables improve comfort. Many potters experience back pain from leaning over their work, so an ergonomic setup is key to long-term enjoyment.
The Basic Mechanics of Wheel Throwing
Mastering wheel throwing starts with understanding its core techniques.
Centering the Clay
Importance of Centering
A well-centred piece spins smoothly, making shaping easier. Off-centre clay wobbles, leading to uneven walls and potential disaster.
Techniques for Centering
Press the clay firmly while the wheel spins at a medium speed. Use both hands to guide it into a symmetrical cone shape before flattening.
Opening the Clay
Creating the Initial Form
Once centred, press your thumbs into the middle to create an opening. This forms the base of your pot, bowl, or vase.
Pulling the Walls
Shaping and Thinning
With gentle pressure, pull the clay upwards while maintaining even thickness.
Achieving Uniform Thickness
Consistency is key—too thin, and your pot may collapse; too thick, and it won’t dry properly.
Shaping and Forming
Creating Different Vessel Shapes
Bowls, vases, mugs—all come from slight variations in hand positioning and wheel speed.
Using Tools for Shaping
Ribs, sponges, and wooden tools help refine shapes and textures, giving pottery its final touch.
Finishing and Detaching
Smoothing and Refining
A damp sponge smooths surfaces, while trimming tools create clean edges.
Cutting the Piece from the Wheel
A thin wire tool slices the finished piece from the wheel without warping its shape.
Types of Pottery Wheels and Their Operation
Choosing the right pottery wheel depends on skill level, space, and preference.
Electric Pottery Wheels
|
Feature |
Electric Wheel |
Kick Wheel |
|
Power Source |
Electric motor |
Manual foot power |
|
Speed Control |
Foot pedal |
Momentum-based |
|
Noise Level |
Louder |
Quiet |
|
Portability |
Lighter, compact |
Heavy, hard to move |
|
Best For |
Beginners, professionals |
Traditionalists, energy-free use |
Advantages and Disadvantages
Electric wheels are convenient but require power and can be expensive. Kick wheels provide full control but demand more physical effort.
Variable Speed Controls
Electric wheels offer precision speed adjustments, allowing for fine-tuned throwing techniques.
Maintenance Requirements
Motors need occasional lubrication, and belts may require replacement over time.
Kick Wheels
Historical Significance
Kick wheels date back to ancient times, offering a manual approach to pottery.
Operation and Control
Foot power keeps the wheel spinning, with the potter controlling speed by increasing or decreasing momentum.
Benefits of Manual Operation
Kick wheels provide a quiet, energy-efficient alternative to electric models.
Portable and Mini Pottery Wheels
Uses and Limitations
Compact wheels are great for hobbyists with limited space but lack power for large projects.
Maintaining Your Pottery Wheel
A well-maintained wheel ensures longevity and smooth operation.
Cleaning and Lubrication
Preventing Clay Buildup
Wipe surfaces regularly to prevent dried clay from affecting performance.
Maintaining Smooth Operation
Lubricate moving parts as needed to avoid friction and wear.
Troubleshooting Common Issues
Motor Problems
If the wheel slows or stops, check wiring and motor connections.
Speed Control Issues
Foot pedals may need recalibration if speed changes become erratic.
Wheelhead Wobble
Tighten loose fittings to prevent uneven spinning.
Tips and Techniques for Beginners
Clay Preparation
Wedging and Consistency
Wedging removes air pockets and ensures even moisture, making the clay easier to work with.
Hand and Body Positioning
Anchor elbows for stability, and keep hands steady to maintain control.
Tool Usage
Experiment with ribs, sponges, and trimming tools to refine your work.
Practising and Developing Skills
Regular practice helps build muscle memory and improves precision.
Safety Precautions
Keep hands dry for a firm grip, and avoid loose clothing near moving parts.
The History and Evolution of the Pottery Wheel
Ancient Origins
The first pottery wheels were simple hand-turned platforms.
Development Through Civilisations
Mesopotamians and Egyptians refined wheel designs, increasing efficiency.
Modern Innovations
Electric wheels, variable speeds, and ergonomic designs have revolutionised pottery.
Frequently Asked Questions (FAQ)
How fast should a pottery wheel spin?
Speeds range from 50–150 RPM for centring, increasing up to 300 RPM for shaping.
What type of clay is best for wheel throwing?
Stoneware and porcelain clays work best due to their smooth texture and durability.
How do you attach a bat to a pottery wheel?
Most bats attach using bat pins or grip systems on the wheelhead.
Can you use any wheel for all types of pottery?
While most wheels handle various projects, heavy clay work requires a strong motor.
How much does a pottery wheel cost?
Prices vary—starter wheels cost around £200, while professional models exceed £1,000.
Conclusion: Mastering the Art of the Wheel
Understanding how a pottery wheel works is the first step to mastering ceramics.
By learning its components, mechanics, and proper maintenance, you’ll create smoother, more refined pottery. Whether using an electric or kick wheel, practice makes perfect.
Keep experimenting, stay patient, and soon, your spinning clay will transform into stunning works of art! 🎨