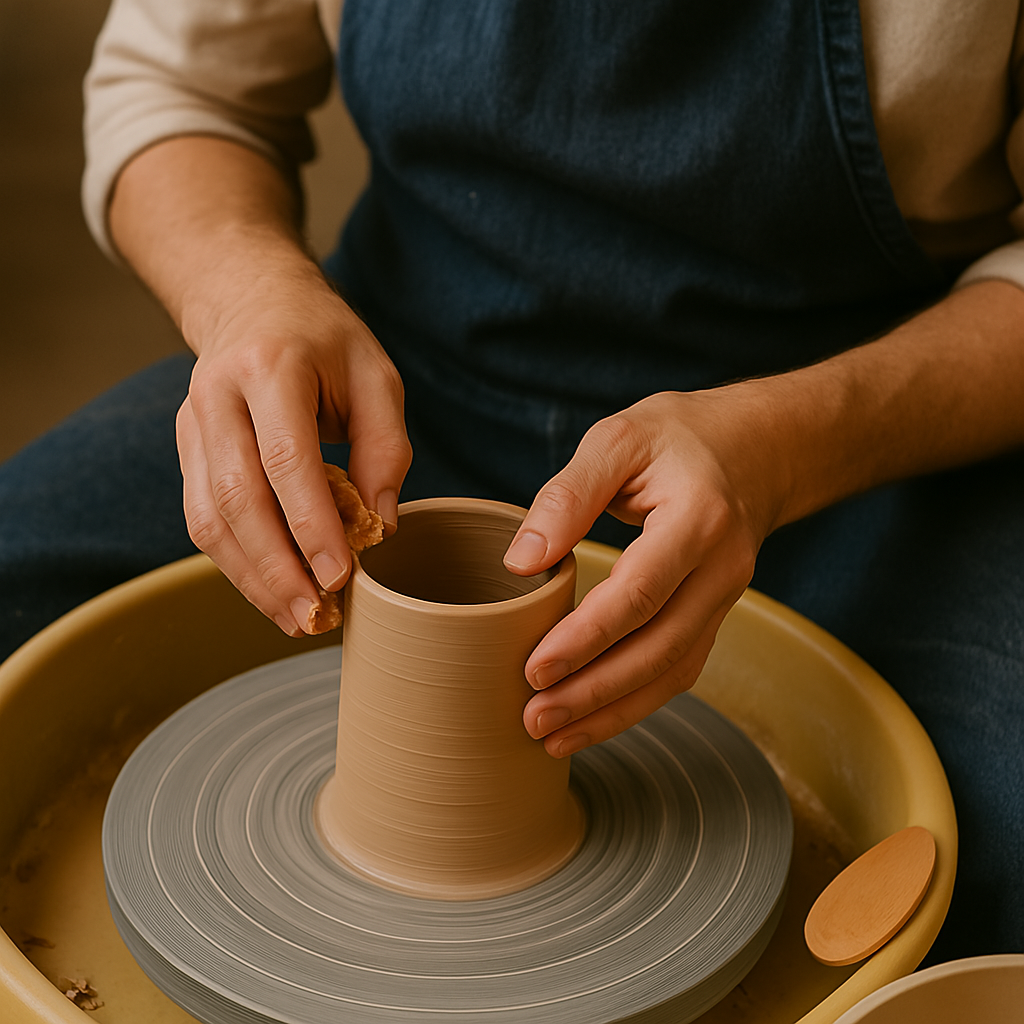
Can You Make a Pottery Wheel? A DIY Guide to Building Your Own
Absolutely! You can make a Pottery Wheel—no wizardry required! With a dash of DIY & Making spirit, a repurposed motor, and a bit of patience, you’ll be spinning clay in no time. Want a budget-friendly, custom-built wheel? Stick around for the step-by-step guide to crafting your own!

Understanding the Basics of a Pottery Wheel
What is a Pottery Wheel and its Purpose?
A pottery wheel is a rotating platform used to shape clay into symmetrical forms.
It’s been around for thousands of years, evolving from simple manual wheels to high-tech electric versions. Whether you’re crafting rustic bowls or elegant vases, a wheel helps you achieve precision and smoothness that’s hard to get by hand.
Types of Pottery Wheels (Kick Wheel vs. Electric Wheel)
-
Kick Wheel – Operated by foot, offering full control but requiring leg strength. Traditional and great for a workout!
-
Electric Wheel – Powered by a motor, making it easier to use for long sessions. Ideal for consistent speed and effortless spinning.
Key Components of a Pottery Wheel
Every pottery wheel, whether handmade or store-bought, consists of a few essential parts:
-
Wheel head – The flat surface where clay is shaped.
-
Flywheel or motor – Provides the necessary rotation.
-
Frame and support – Keeps everything stable.
-
Splash pan – Catches excess water and clay.
DIY Pottery Wheel Options: Feasibility and Considerations
Is Building a Pottery Wheel Realistic?
Yes! Plenty of potters have successfully built their own wheels.
It’s an exciting challenge, especially if you enjoy DIY projects. With some basic mechanical skills, a handful of materials, and patience, you can craft a fully functional wheel for a fraction of the price of commercial models.
Factors to Consider Before Building
Cost of Materials
A DIY pottery wheel can cost 50–70% less than a shop-bought version.
Required Tools and Skills
You'll need basic woodworking and mechanical skills. Nothing too advanced, but knowing your way around a drill and a saw helps.
Time Commitment
Expect to spend around 10–15 hours spread over a few days.
Safety Precautions
Secure all components tightly. If using an electric motor, ensure proper wiring and insulation to prevent shocks.
Building a Simple Kick Wheel (DIY Guide)
Materials Needed
Wheel Head Options
-
Plastic or wood – Cheaper and easy to shape.
-
Metal – More durable and professional.
Flywheel Construction
A heavy base (like concrete or solid wood) helps maintain momentum.
Frame and Support
Sturdy wood or metal framework to hold everything in place.
Step-by-Step Instructions
Assembling the Frame
Construct a solid wooden base, making sure it’s level to avoid wobbles.
Creating the Flywheel
If using concrete, pour it into a mould and let it set. If using wood, cut a circular shape and add weight underneath for stability.
Attaching the Wheel Head
Fix it centrally onto the flywheel using bearings for smooth rotation.
Balancing and Adjusting
Test-spin the wheel and tweak positioning to avoid uneven rotation.
Tips for Optimal Kick Wheel Performance
-
Keep the flywheel balanced—extra weight can cause instability.
-
Use rubber feet to absorb vibrations.
-
Adjust the seat height for comfortable use.
Building a Basic Electric Pottery Wheel (DIY Guide)
Materials Needed
Motor Selection
A 120W–240W motor works best—powerful enough for smooth rotation but not overkill.
Speed Controller
A dimmer switch or foot pedal can help you adjust speed easily.
Wheel Head and Splash Pan
-
Metal wheel head – More durable and resistant to warping.
-
Plastic basin – Works well as a splash pan to catch mess.
Frame and Electrical Components
A strong wooden or metal frame ensures stability.
Step-by-Step Instructions
Electrical Wiring and Safety
Always follow UK electrical standards (BS 7671). If unsure, consult an electrician.
Motor Mounting and Alignment
Secure the motor firmly, ensuring it's aligned perfectly with the wheel head.
Building the Frame and Splash Pan
Construct a sturdy frame and attach the splash pan to catch excess clay and water.
Installing the Wheel Head and Speed Control
Fix the wheel head securely and test the speed control mechanism.
Safety Considerations for Electric Wheels
-
Regularly inspect wiring for signs of wear.
-
Keep the motor dry—water and electricity don’t mix!
-
Always disconnect power before making adjustments.
Comparison: DIY vs. Store-Bought Pottery Wheels
|
Feature |
DIY Pottery Wheel |
Store-Bought Pottery Wheel |
|
Cost |
£50–£200 |
£300–£1,500 |
|
Customisation |
Fully adjustable |
Limited |
|
Build Time |
10–15 hours |
Ready to use |
|
Durability |
Depends on materials |
Generally long-lasting |
|
Skill Level Required |
Basic woodworking/electrical |
None |
Alternatives to Building a Pottery Wheel
Purchasing a Used Pottery Wheel
Second-hand wheels can be found on sites like Gumtree or Facebook Marketplace.
Renting or Accessing Community Studio Wheels
Many art studios and colleges offer rental options.
Budget-Friendly Beginner Wheels
Look for entry-level wheels under £200 if DIY isn't your thing.
Hand-Building Pottery Techniques (No Wheel Needed)
Try pinch pots, coil-building, or slab techniques for a hands-on approach.
Troubleshooting Common DIY Pottery Wheel Issues
Wheel Wobbling or Imbalance
Check and adjust the bearings.
Motor Problems (Electric Wheels)
Ensure proper voltage and secure all wiring.
Flywheel Inefficiency (Kick Wheels)
Increase weight for smoother operation.
Speed Control Issues
Test and replace faulty dimmers or foot pedals.
Enhancing Your DIY Pottery Wheel
Adding a Splash Pan
Use a repurposed plastic basin to catch mess.
Upgrading the Wheel Head
Consider switching to a stainless steel head for longevity.
Adjusting Speed and Stability
Fine-tune motor speed or tweak flywheel weight.
Conclusion: Is a DIY Pottery Wheel Right for You?
If you enjoy DIY & Making, building your own pottery wheel can be a game-changer. It's cost-effective, customisable, and rewarding.
But if you prefer a quick, hassle-free option, a pre-made wheel might be better. Either way, pottery is an incredible craft—so whether you build, buy, or rent, just get spinning and enjoy the ride!

