Always Here for Advice
How to Centre Clay on a Pottery Wheel: A Beginner’s Guide
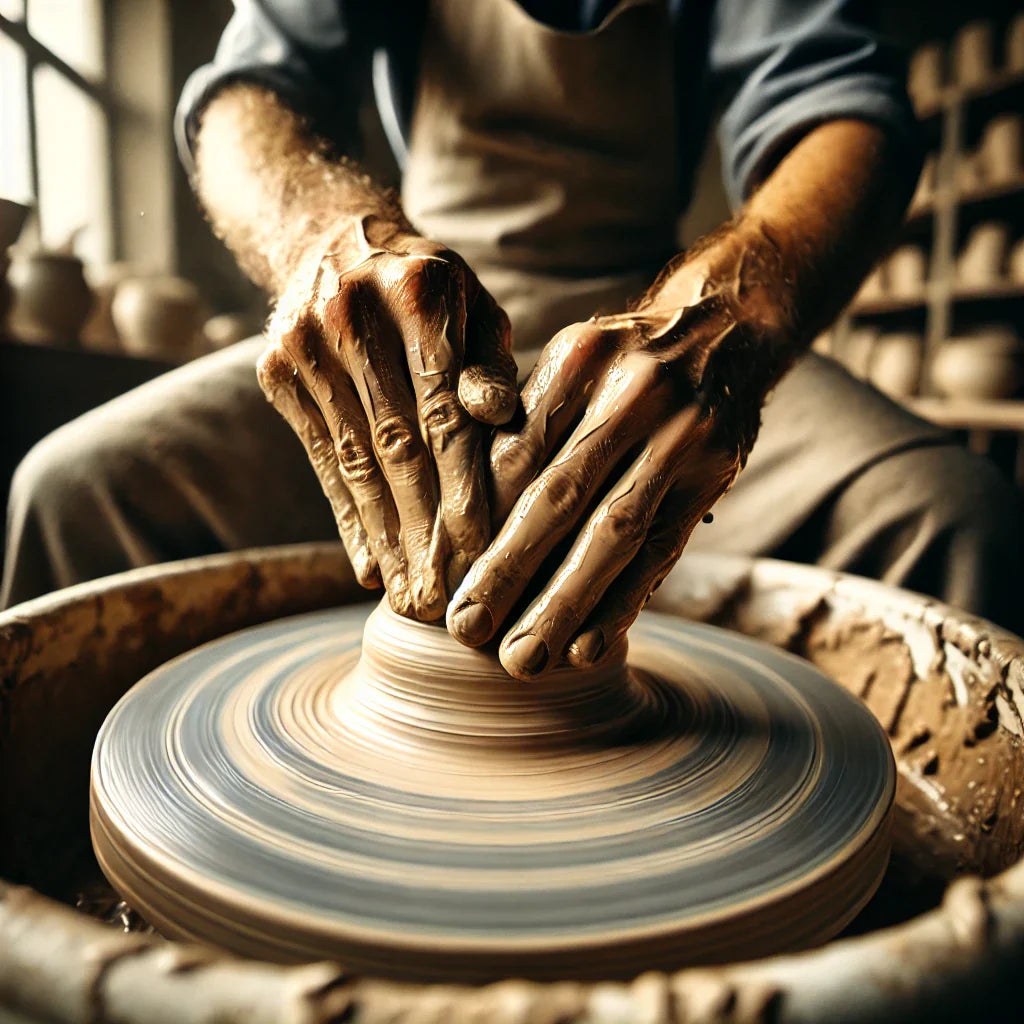
Ever wrestled with a lump of clay that just won’t behave? Welcome to the art of centering! Beginner Pottery Wheels are perfect for practising this essential skill. The short answer: steady hands, firm pressure, and patience. Learning this skill is a game-changer for beginners—master it, and your pottery transforms. Keep reading for step-by-step tips, common mistakes, and secret pro tricks!
Understanding the Basics of Centreing

What is Centreing?
Centreing is the process of aligning your clay perfectly on the spinning wheel so it doesn’t wobble or throw your hands off balance. If the clay isn’t properly centred, shaping it into anything symmetrical will be a nightmare!
Why is a Centred Clay Mass Important?
Think of it like a car tyre—if it’s unbalanced, the whole car wobbles. The same goes for pottery. A properly centred clay mass makes shaping smoother, prevents collapses, and ensures even walls.
How Centreing Affects the Final Piece
Poorly centred clay leads to lopsided pots, weak walls, and even cracks during drying or firing. A well-centred piece, on the other hand, is easier to shape and results in a more professional finish.
Essential Tools and Setup
Preparing the Pottery Wheel
-
Make sure your wheel head is clean and damp—any dust or dry clay can cause slipping.
-
Check that your wheel is level. An uneven wheel makes centreing much harder.
Preparing the Clay
-
Wedging: This removes air bubbles, preventing cracks and explosions in the kiln.
-
Moisture Check: Clay should be soft but not too sticky—think of the texture of fresh bread dough.
Necessary Tools
-
Water: Keeps your hands and the clay lubricated.
-
Sponge: Helps control moisture—too much water weakens the clay.
-
Wire Cutter: Used for slicing clay and removing finished pieces.
Step-by-Step Centreing Technique

Preparing the Clay and Wheel
1. Wedge the Clay to Remove Air Bubbles
Before even touching the wheel, knead and fold the clay repeatedly. This makes it easier to centre and prevents hidden air pockets.
2. Throw the Clay onto the Wheel Head
Aim for the middle and throw it down firmly. A weak attachment could send your clay flying mid-spin!
3. Apply Water to the Clay and Wheel
A splash of water reduces friction, making the clay easier to control. Don’t overdo it—too much water turns the clay to sludge.
The Cone Shape
1. Form the Clay into a Cone
Use both hands to push the clay upwards into a cone shape. This aligns the clay particles, making it easier to centre.
2. Push the Clay Down and In
Now, press it back down while keeping your hands steady. This motion forces out trapped air and stabilises the clay.
The Downward Pressure
1. Use Your Hands and Body Weight for Pressure
Instead of relying just on your hands, lean in slightly and use your body weight for control.
2. Apply Consistent and Even Pressure
Uneven force = wobbly clay. Keep your touch balanced and steady.
Finding the Centre
1. Recognise When the Clay is Centred
You’ll know it’s centred when the clay spins smoothly without any juddering under your hands.
2. Adjust Pressure as Needed
If you feel resistance or see a wobble, adjust your hands gently until the clay stabilises.
The Cylinder Shape
1. Move from a Cone to a Short Cylinder
Once centred, press the top down gently to form a short, wide cylinder—this is your base for shaping.
2. Maintain the Centre
If you lose the centre, go back to coning and re-align.
Common Centreing Challenges and Solutions
|
Problem |
Cause |
Solution |
|
Clay Wobbling |
Uneven pressure or misaligned clay |
Apply steady pressure with both hands |
|
Uneven Walls |
Inconsistent hand positioning |
Keep hands firm and steady |
|
Clay Sticking to Hands |
Too much water |
Use a damp sponge instead of pouring water directly |
|
Wrist Strain |
Poor posture |
Rest elbows on thighs for stability |
Clay Wobbling
Causes of Wobbling
-
Uneven hand pressure
-
Poor attachment to the wheel
-
Insufficient wedging
How to Fix It
-
Slow the wheel down and apply steady pressure.
-
Re-wedge the clay if air bubbles are the problem.
Uneven Pressure
How to Recognise It
If your hands feel like they’re fighting against the clay, one side is likely getting more force than the other.
How to Correct It
Use both hands equally and make slow, deliberate movements.
Clay Sticking to Hands
Proper Water Usage
Keep the clay damp but not soaked—think of it like handling dough, where too much water makes it gooey.
Using a Sponge Effectively
Instead of pouring water, press a damp sponge against the spinning clay for controlled moisture.
Arm and Body Positioning
Proper Posture for Centreing
Sit with a straight back, feet flat on the floor, and elbows resting on your thighs for better control.
Avoiding Strain and Injury
Take breaks and stretch your hands to avoid wrist fatigue—pottery is a marathon, not a sprint!
Tips for Beginners
Practice Regularly
Why Repetition Matters
The more you centre, the more natural it feels. Try practising for 10–15 minutes each session before working on projects.
Setting Realistic Goals
Start small—master centring a ball of clay before attempting a full bowl or vase.
Watch and Learn
Online Tutorials and Resources
YouTube and pottery forums are goldmines of step-by-step video tutorials.
Learn from Experienced Potters
A workshop or class can speed up your learning curve—hands-on instruction is invaluable.
Don't Give Up
Centreing is a Fundamental Skill
Every skilled potter was a frustrated beginner once. It’s a rite of passage!
Embracing the Learning Process
Mistakes will happen. Wobbles will occur. Laugh at them and keep spinning!
Advanced Centreing Techniques (Optional)
Centreing Larger Amounts of Clay
Adjusting Pressure and Technique
Use your whole body, not just your hands, to control larger masses of clay.
Centreing Stiff Clay
How to Work with Stiff Clay
Soften with a damp sponge and wedge thoroughly before attempting to centre.
Centreing at Different Wheel Speeds
Finding the Optimal Speed
Beginners should start slow, while experienced potters can work with faster speeds for efficiency.
Conclusion
Recap of Key Steps
-
Wedge your clay.
-
Attach it firmly to the wheel.
-
Use coning motions to centre.
-
Apply even pressure and adjust as needed.
Why Mastering Centreing is Essential
A well-centred piece is easier to shape, more durable, and looks far more professional.
Keep Practising!
The more you spin, the better you’ll get. Enjoy the process, embrace the mistakes, and before you know it, centreing will feel like second nature!