Always Here for Advice
Beginner Pottery Wheel Projects: What to Make First
First time on a pottery wheel? Expect wobbles, laughter, and a possible clay-covered face! Beginner Pottery Wheels are designed to make those first spins fun and frustration-free. Start with a simple bowl—it’s forgiving, fun, and teaches key skills. Why keep reading? You’ll get beginner-friendly tips, hilarious fails to avoid, and the best projects for learning & beginners. Let’s spin some magic! 🎡✨
What to Make First Time Pottery Wheel? Beginner Projects and Ideas
So, you’ve finally got your hands on a pottery wheel—exciting, right? Now comes the big question: what’s the best thing to make first?
A simple bowl is a great place to start! It teaches essential techniques, is forgiving when things go slightly wrong, and gives you a satisfying first creation.
This guide will walk you through the basics, beginner-friendly projects, and essential tips to make your first pottery session a success. Ready to get your hands dirty? Let’s dive in!
Understanding the Basics Before You Begin
Before you start shaping your masterpiece, you need to nail the fundamentals—centering the clay, picking the right tools, and choosing a beginner-friendly clay.

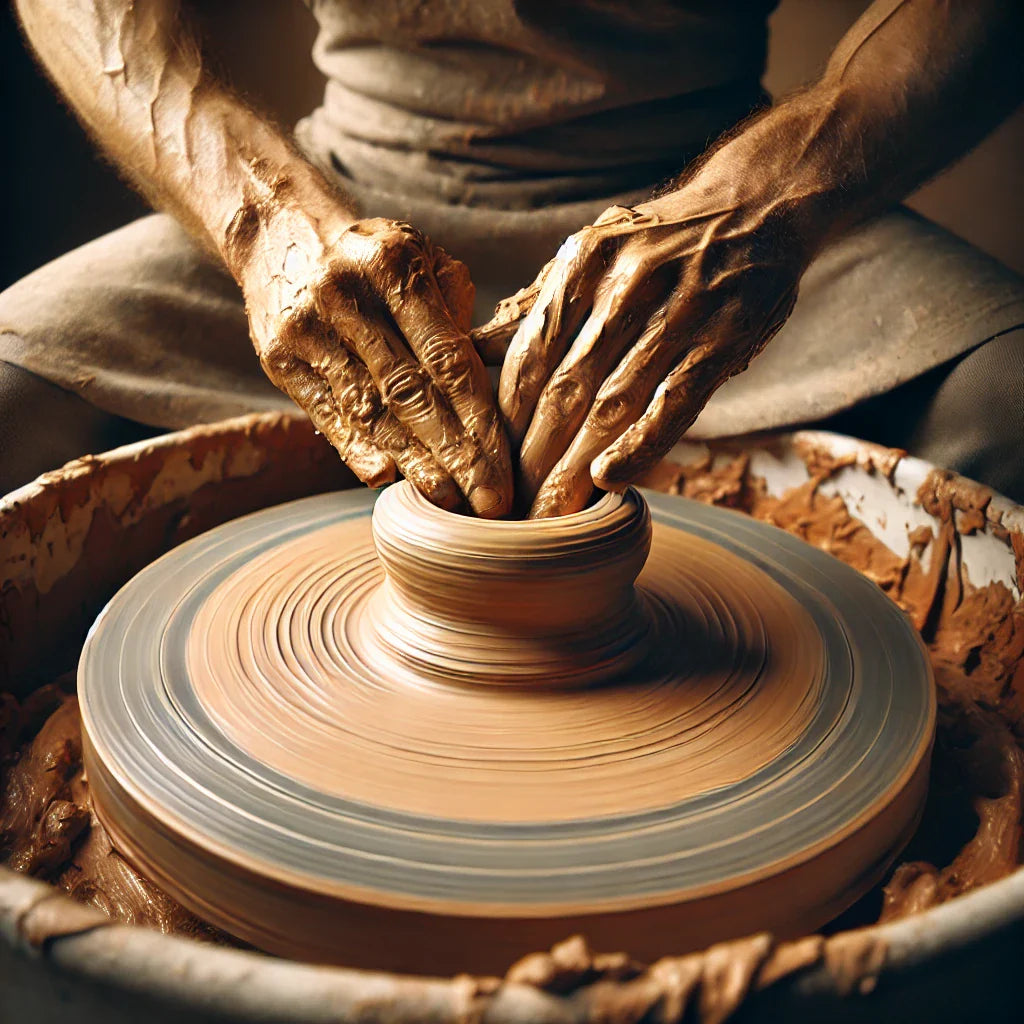
Centering the Clay: The Foundation of Wheel Throwing
If your clay isn’t centred, your entire piece will wobble. Here’s how to get it right:
-
Start with wet hands – This prevents friction and helps you shape the clay smoothly.
-
Push the clay down and inward – Use firm, even pressure to keep it stable.
-
Use steady speed – Too fast and it’ll spin out of control, too slow and it won’t shape properly.
It might take a few tries, but once you master centering, the rest becomes much easier!
Essential Tools for Beginners
You don’t need a workshop full of tools—just a few essentials:
-
Sponge – Keeps the clay moist while shaping.
-
Rib tool – Helps smooth and refine your piece.
-
Wire cutter – Used to remove your finished piece from the wheel.
-
Needle tool – Checks wall thickness and creates design details.
Choosing the Right Clay for Your First Project
Not all clay is beginner-friendly! Here’s a quick comparison to help you choose:
|
Clay Type |
Ease of Use |
Durability |
Best For |
|
Earthenware |
Very easy |
Less durable |
Small bowls & decorative items |
|
Stoneware |
Medium |
Strong |
Everyday use items like mugs |
|
Porcelain |
Difficult |
Very strong |
Advanced projects (avoid as a beginner!) |
For your first project, go with earthenware or stoneware—they’re much easier to work with!
Simple and Successful First Projects
Start small with projects that build confidence and essential skills.

The Classic Pinch Pot: A Gentle Introduction to Form
A pinch pot is the easiest way to get a feel for clay. Simply roll a ball, press your thumb into the centre, and pinch outward to shape a bowl or small planter.
It’s simple, fun, and a great way to understand clay's behaviour!
Small Bowls: Mastering the Cylinder Shape
Bowls are a classic first project that teach you how to control the wheel while shaping.
Creating a Simple Round Bowl
-
Centre your clay on the wheel.
-
Press your thumbs into the middle to create an opening.
-
Gently pull the walls outward while spinning.
-
Smooth the edges using a sponge.
Adding a Foot Ring for Stability
Once your bowl is leather-hard (firm but not fully dry), trim the base to create a foot ring. This adds stability and an elegant touch!
Basic Cups: Building on the Cylinder
Once you're comfortable with bowls, try making a simple cup.
Pulling a Straight Wall
-
Start like a bowl, but keep the walls vertical rather than flaring outward.
-
Use steady, even pressure to pull the walls upward without thinning them too much.
Shaping a Simple Handle
-
Roll a small coil of clay.
-
Score both the handle and cup before attaching.
-
Smooth the edges for a seamless finish.
Progressing to Slightly More Challenging Projects
Once you’ve mastered the basics, here are a few projects to step up your game.
Small Planters: Combining Shape and Function
Shape a bowl-like form, but make it slightly taller. Once leather-hard, poke drainage holes in the base. A perfect first plant pot!
Simple Vases: Exploring Neck Formation
Shape a cylinder, then gently compress the top inward to form a narrow neck. This teaches you how to control shape variation.
Coasters or Small Dishes: Experimenting with Flaring
Roll out a small clay disc, then flare the edges outward to experiment with different styles. Great for learning control!
Tips for First-Time Wheel Throwers
Start Small: Manageable Projects for Beginners
Bigger isn’t always better—small bowls and cups are ideal for learning without wasting too much clay.
Focus on Technique, Not Perfection
Your first piece won’t be flawless, and that’s okay! Focus on improving your skills rather than making something perfect.
Embrace the Process: Learning from Mistakes
Every potter has collapsed pieces—it’s all part of the learning curve! Keep going, and each attempt will get better.
Practice Regularly: Consistency is Key
Pottery is like muscle memory—the more you do it, the more natural it becomes.
Watch Tutorials: Visual Learning Resources
Check out YouTube, Skillshare, or online classes to see techniques in action.
Glazing and Finishing Your First Pieces
Once your piece is shaped, it’s time to glaze and fire!
Understanding Different Glazes
|
Glaze Type |
Finish |
Best For |
|
Glossy |
Shiny & smooth |
Cups, plates |
|
Matte |
Soft & subtle |
Decorative pieces |
|
Transparent |
Shows surface texture |
Detailed designs |
Simple Glazing Techniques for Beginners
-
Dipping – The easiest method—just dip and let dry.
-
Brushing – Apply glaze with a brush for better control.
Firing Considerations
Glazed pottery needs firing in a kiln. If you don’t have one, check with local pottery studios—they often offer firing services.
Where to Find Inspiration and Resources
Online Pottery Communities and Forums
Join pottery groups on Facebook, Reddit, or The Pottery Forum for tips and advice.
Local Pottery Studios and Classes
Taking a class is a great way to get hands-on guidance. Look for community workshops or pottery studios near you.
Books and Magazines for Pottery Beginners
Some great reads to boost your skills:
-
The Beginner’s Guide to Wheel Throwing – Julia Claire Weber
-
Ceramics Monthly – A fantastic magazine for pottery enthusiasts!
Conclusion: Enjoying Your Pottery Journey
Celebrate Your First Creations
Your first bowl might be wobbly, but it’s uniquely yours! Every potter starts somewhere.
Continue Exploring and Learning
From bowls to mugs to intricate vases, each new project improves your skills. Keep spinning, experimenting, and most importantly—have fun!
Now, grab some clay and get throwing! 🎡✨